|
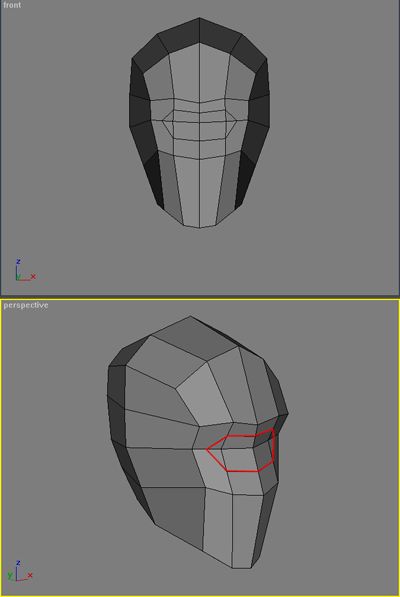
5)
Next a loop is
drawn to outline the eyesocket.
|
|
|
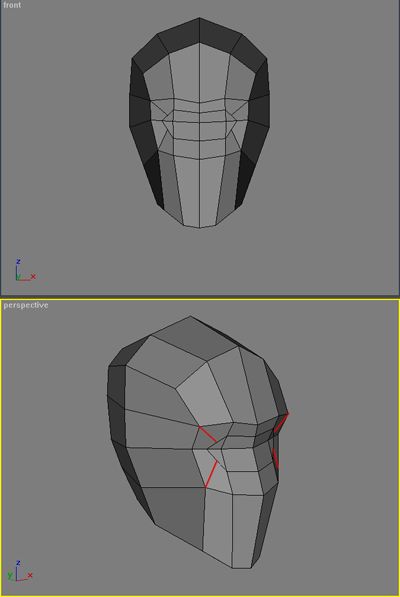
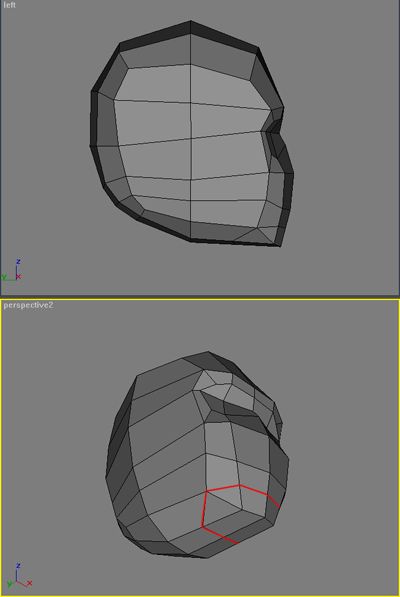
6)
The last step
resulted in 3 and 5 sided faces. This is taken care of by dividing
the edges and connecting them. This way of inserting loops comes in
handy in plenty of areas, like creating the mouth later on or making
holes in meshes, etc.
|
|
|
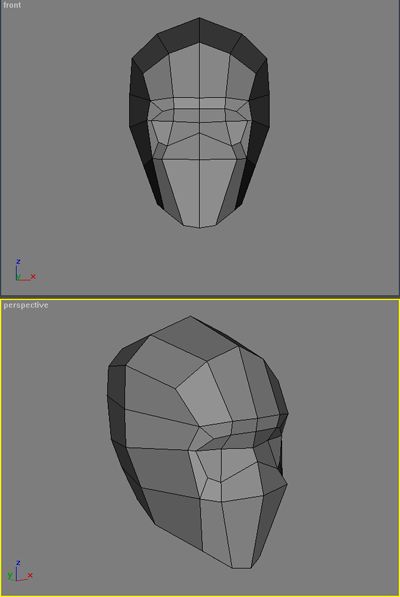
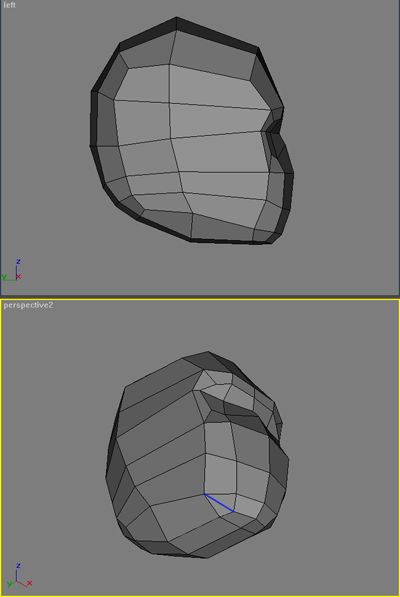
7)
The vertices are
moved around to form a "goggle" form around the
eyesockets.
|
|
|
8)
A loop is inserted
where the mouth goes
|
|
|
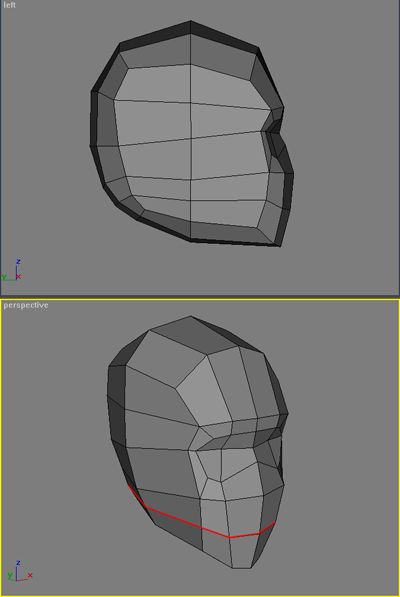
9) We
want to change the direction of the loops to better suit the jaw so
let's insert some edges and then...
|
|
|
10) ...we
delete the excess edge. Now the edges flow in a better way for when
we start working on the mouth and jaw.
|
|